My black slippers are black like my hair,
My black slippers are so much fun to wear.
They wait by my bed until the next morn,
And when I awake they keep my feet warm.
And when I come home to sit and read a book,
It is up toward the ceiling they always look.
When it the kitchen Jason's supper to make,
My good old black slippers don't let my feet ache.
And down through the years as I face the cold,
I know on my soles the faithful black slippers of old.
Friday, January 13, 2012

2012 Goals
I mentioned our 2012 goals in a previous post and thought if I wrote them down Jason and I maybe more likely to accomplish them! We don't have many, but that makes me think the few we have will be that much more achievable.
1. Finish Paying 50% of School Loans
We would like to pay down this debt by 50% or more in the next year. If we could pay all of it that would be great! This would free up more of Jason's salary for savings and we feel like it would give us more freedom to serve Our Great God.
2. Invite More People into Our Home
We would love to open our home more often to neighbors, friends we don't see often, and college students.
3. Cook through Giada De Laurentiis' cookbook
I want to try new recipes and in honor of our trip to Italy this seemed fitting. I have tried 2 recipes so far and they were delish. I have to pace myself because of the costly and fattening ingredients!
4. Have a Sunday Night Devotion Time
So far we have met this goal for 2012. Sunday night is a good time to relax, discuss the teaching from Church, and get charged up for the busy week ahead!
1. Finish Paying 50% of School Loans
We would like to pay down this debt by 50% or more in the next year. If we could pay all of it that would be great! This would free up more of Jason's salary for savings and we feel like it would give us more freedom to serve Our Great God.
2. Invite More People into Our Home
We would love to open our home more often to neighbors, friends we don't see often, and college students.
3. Cook through Giada De Laurentiis' cookbook
I want to try new recipes and in honor of our trip to Italy this seemed fitting. I have tried 2 recipes so far and they were delish. I have to pace myself because of the costly and fattening ingredients!
4. Have a Sunday Night Devotion Time
So far we have met this goal for 2012. Sunday night is a good time to relax, discuss the teaching from Church, and get charged up for the busy week ahead!
Thursday, January 12, 2012
Wishlist
About a month before Jason and tied the knot we sat down together and made a wishlist of sorts. It was a list of things that we thought we would need/want and knew we needed to start saving for. A few weeks ago I ran across the list stuck in a study Bible and was struck by how God has provided ALL of the 14 things we had written down!
The list is a compilation of both small and large things. Here you go:
1. Dresser
2. Bedside table #2
3. "Coffee table" (small table to hold our coffee pot/mugs that sits in our dining room)
4. 2 Curtain Rods
5. Curtains
6. Laptop
7. Car
8. Trip to Italy
9. Side table for living room
10. Bedframe/Headboard
11. Mattress
12. Canvass Photo
13. Picture Frames
14. Coat Rack
We have been married almost 2 years and will be celebrating with a trip to Italy. I remember writing that on the list and actually doubting it would happen, but two weeks ago we bought our tickets!! Many of the items on our list were given to us or we were able to buy with wedding money. Seeing the list accomplished causes me to feel excited and hopeful about other goals we have set for 2012!
The list is a compilation of both small and large things. Here you go:
1. Dresser
2. Bedside table #2
3. "Coffee table" (small table to hold our coffee pot/mugs that sits in our dining room)
4. 2 Curtain Rods
5. Curtains
6. Laptop
7. Car
8. Trip to Italy
9. Side table for living room
10. Bedframe/Headboard
11. Mattress
12. Canvass Photo
13. Picture Frames
14. Coat Rack
We have been married almost 2 years and will be celebrating with a trip to Italy. I remember writing that on the list and actually doubting it would happen, but two weeks ago we bought our tickets!! Many of the items on our list were given to us or we were able to buy with wedding money. Seeing the list accomplished causes me to feel excited and hopeful about other goals we have set for 2012!
Monday, December 12, 2011
Stationery card


Snowy Window Christmas Card
Seasons greetings with personalized Christmas cards from Shutterfly.
View the entire collection of cards.
Sunday, November 6, 2011
Past few weeks...
Here is a little catchup on what has been happening in the Casa de Faircloths over the past few weeks...
 |
| Mom came for a visit and we had an apple extravaganza! |
 |
| The apartment smelled amazing! |
 |
| Mom's carved pumpkin. |
 |
| We were 3rd place winners in the pumpkin carving party!! |
 |
| Charleston, SC. Jason's "Singing in the Rain" reference. |
 |
| Rainbow Row in Charleston, SC. |
 |
| A beautiful sunrise one morning (with Brooke) at Wrightsville Beach. |
Tuesday, October 11, 2011
Dresser turned bookcase
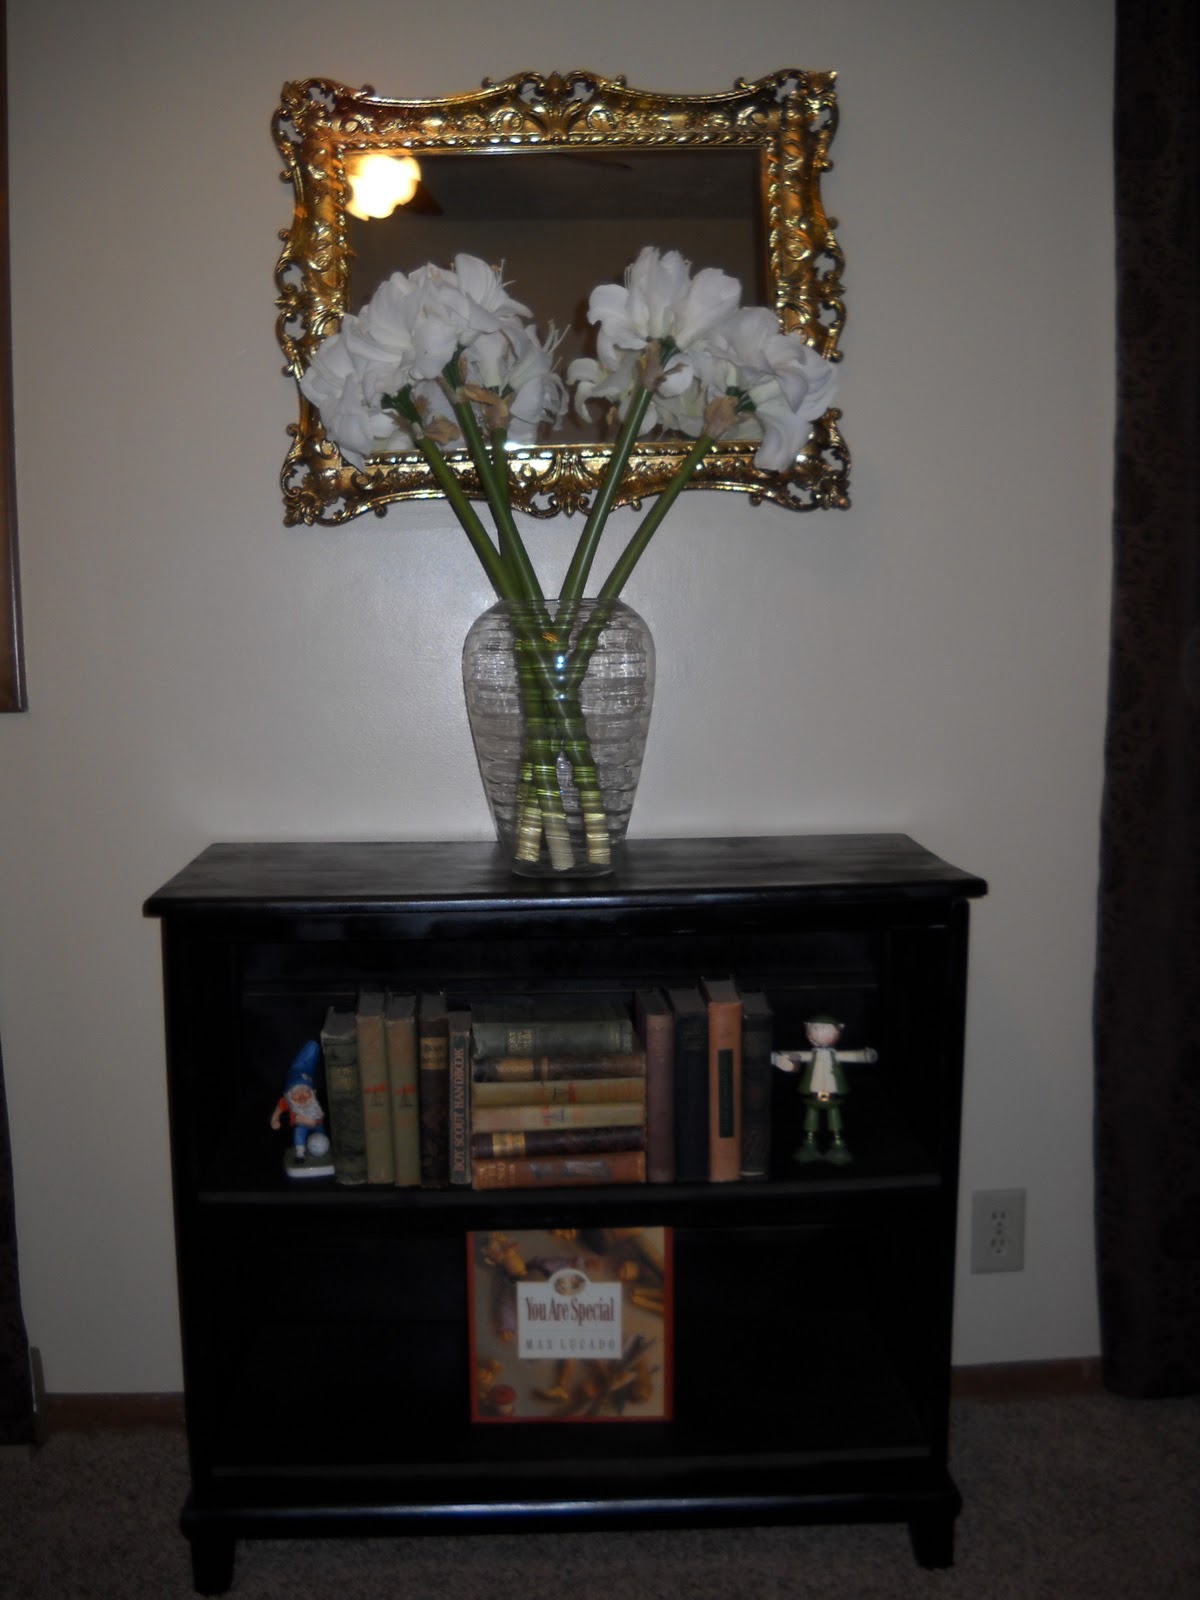
This past week I spent in Omaha, Nebraska visiting my brother-in-law, sister, and niece. The week started great, but both Jenny and I spent about 4 days laying on the couch because of some obnoxious virus. In the time that we were not sick we were able to work on a project of Jenny's. Recently, Jenny saw an old dresser on the side of the road. This thing was pretty gross- I'm talking cobwebs on the inside, stickers on the top, and some girls name carved into the side... but through all of that Jenny saw potential! We transformed the old dresser into a chic new bookcase. Here is the dresser transformation:
For the most part it was an easy project. It probably would have been a bit more challenging had Josh not stepped in when we were trying to hammer out the 2 old dresser tracks...I learned a crow bar is an incredibly helpful tool. After ripping out the old tracks we very carefully measured and got the friendly people at Home Depot to cut some shelves for us. We both sighed a breath of relief to see that we actually measured correctly and the shelves fit!! This was my first experience with a power sander and I must say I am a fan (how dorky would it be if I asked Jason for one for Christmas?), in no time at all the dresser was sanded down and ready to be painted. We ended up using 3.5 cans of black, semi-gloss spray paint on it. Yes, it also took us 3 trips to Home Depot and I was afraid those people were going to think we were huffing the paint instead of painting a bookcase! Once it was dry we moved it to three different spots in the house and then decided on the place that Jenny originally had it. I think it is the great addition to the basement in their house.
 |
| Dresser after we ripped out 2 of the tracks. |
 |
| After sanding it down! |
 |
| Painted and filled with books! |
 |
| We love a finished project!! Alexis is a diyer in training! |
Friday, September 23, 2011
Flower on Canvas
My most recent completed project came from one of my favorite blogs, Make it-Love it. This blog is very inspiring and has tons of projects that are easy and can be finished in an afternoon. Today I finished one that I started last week. For the flower on canvas I didn't have to buy anything. The canvas, fabric, and spray paint were all used in different projects and were leftover. This is a great way to use some leftover fabric that you have laying around. I used muslin, it is one of my favorite fabrics... So here it is:
 I am not super crazy about the blue background, but, it was free. Once again my practicality comes out. The best part of this project is that I got to play around and learn how to make ruffles. It is SO much easier than I ever thought, just takes a little bit of time. Basically all I had to do was a basting stitch on a strip of muslin and then pull the bobbin thread till it created the right ruffle look... there might be a better/easier way, but it worked for this project. Also, I think more and more ruffles are going to start showing up around the house and for gifts :) Here is the link for the tutorial: http://www.makeit-loveit.com/2010/05/decorate-my-home-part-18-flower-wall.html
Now I just need to figure out where to put it... I am thinking it will be propped up on our coat rack to brighten up that area.

Now I just need to figure out where to put it... I am thinking it will be propped up on our coat rack to brighten up that area.
Subscribe to:
Posts (Atom)